|
Guard irons and front-end details |
|
|
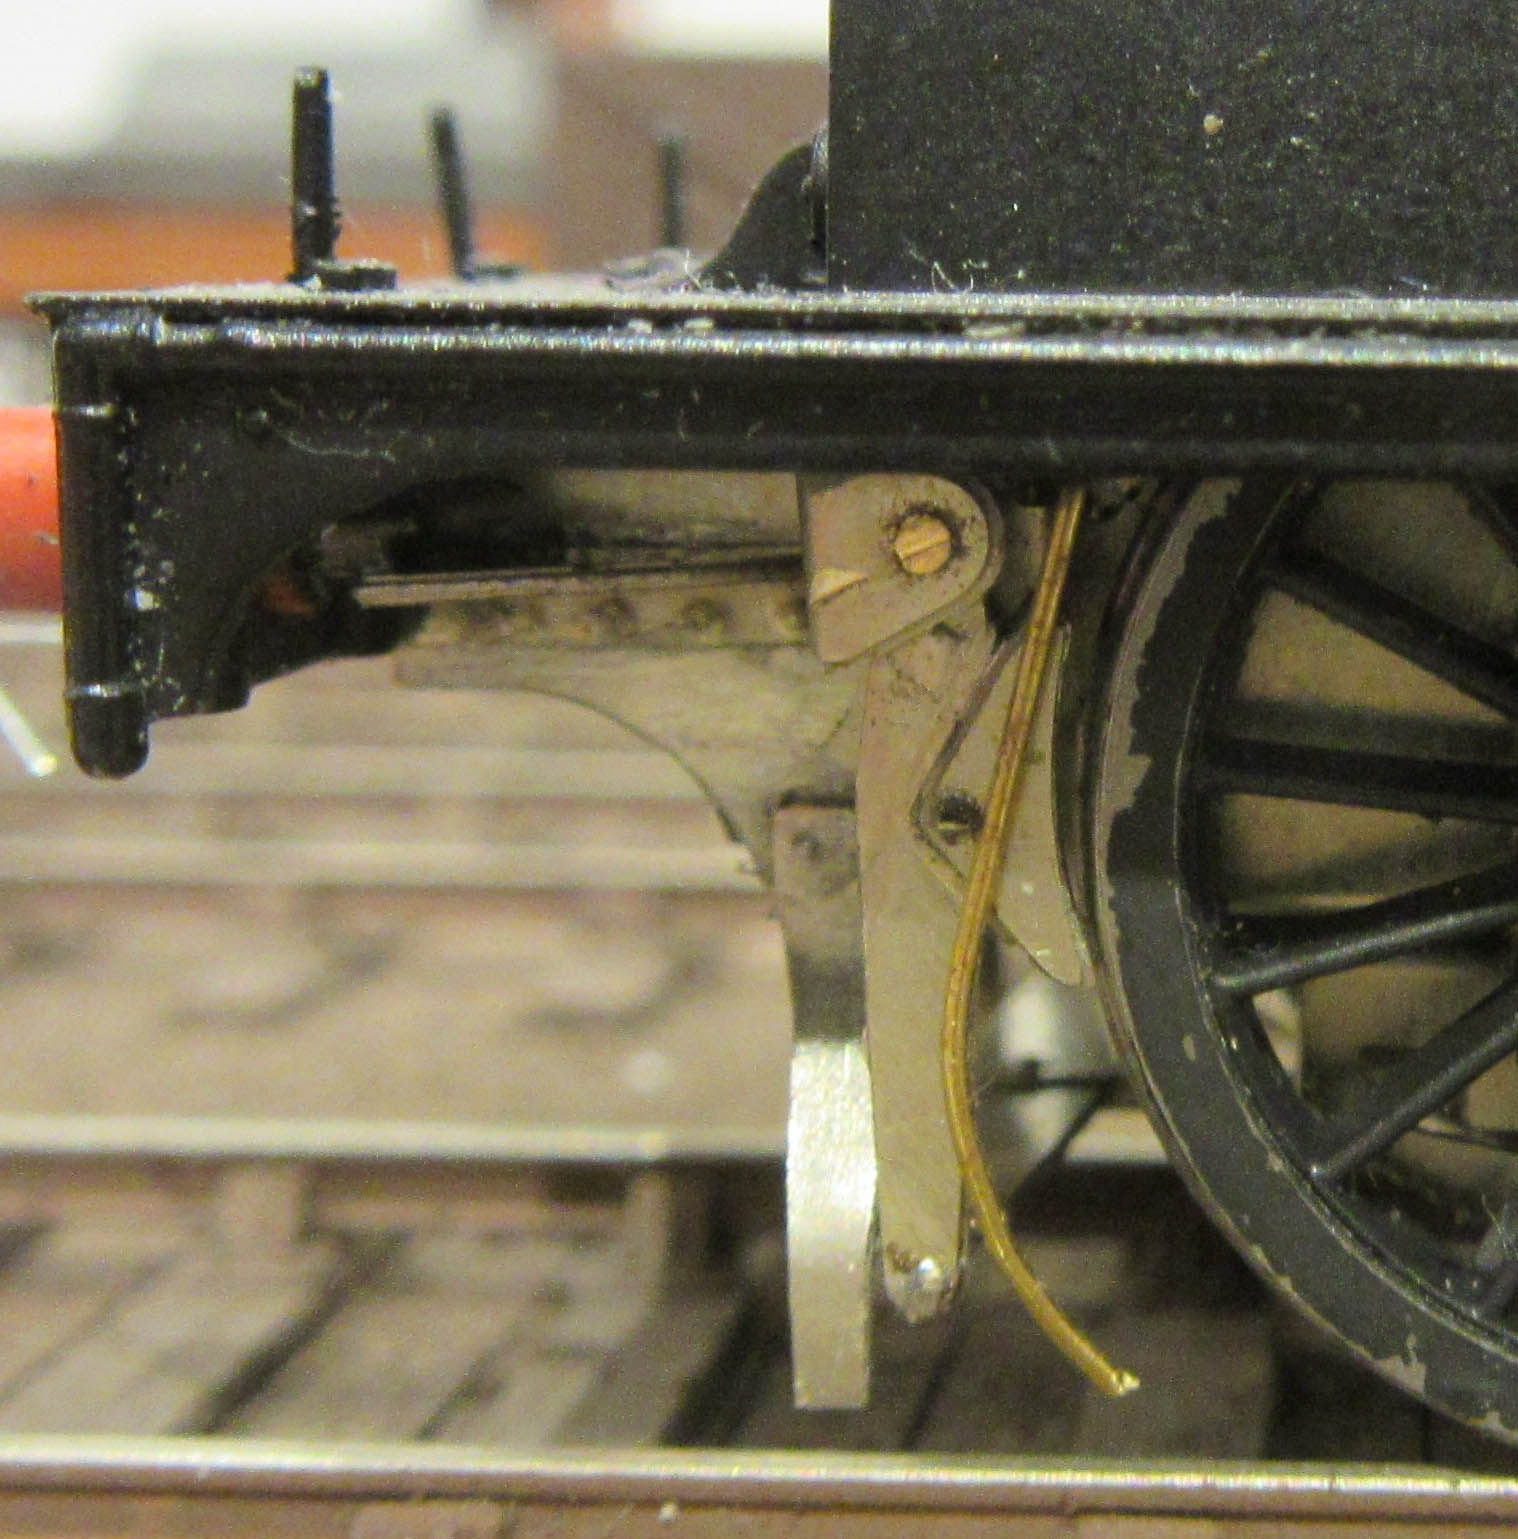
Locate the guard-irons [L17], press out rivet detail with a pointed scriber or similar object. Solder these onto the frames so that tops are parallel with the tops of the frames and the bottoms are just in front of the brakes. Locate the buffer beam brackets [L18], these fit horizontally between the frames and the buffer beams. Press out rivet detail with a pointed scriber or similar object.
Solder these
to the frames. They are horizontal to the tops of the frames and sit
2mm down from the top etch. This needs to be represented using some 0.45mm wire. The wire should be threaded through the holes in the frames just behind the brake hanger brackets and then bent around the front brake block and then angled back in towards the rail head. |

|
|
Reassembly |
|
|
The locomotive and tender chassis can now be re-attached using the original Hornby bolts. The coupling bar [L20] fits over the bolt at the rear of the locomotive and needs to be an easily rotating fit over the larger stepped section of the bolts. |
 |
|
Locomotive handrails |
|
|
The main flaw with the Hornby model is the angle of the handrail knobs around the boiler. While the actual handrail is in the right position the angle of the knobs is incorrect. The handrail, together with the knobs can be eased off the body, using a small flat-bladed screwdriver or cocktail stick. Try to leave the knobs on the rail as they can be re-used. The 'lumps' on the boiler where the handrail knobs fitted need to be removed with a file. This is fairly delicate work, particularly around the boiler washout plugs. The existing handrail knob holes in the boiler need to be filled and filed smooth, a blob of epoxy glue or putty is best.
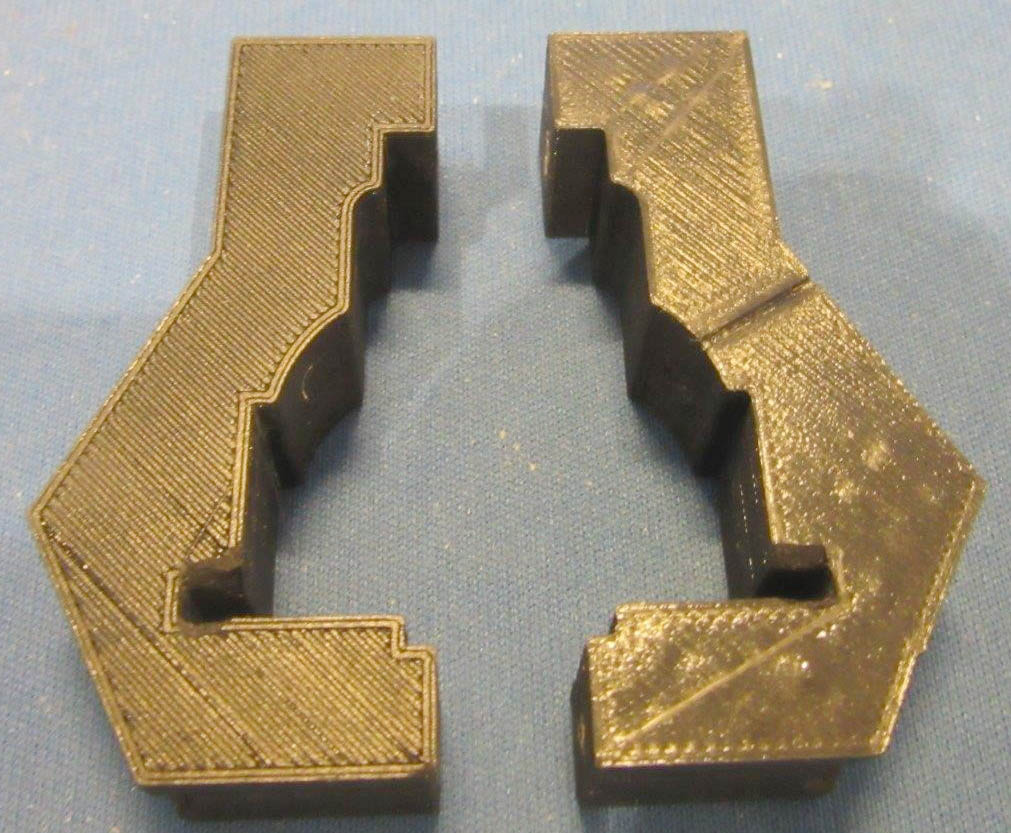
Re-drilling the holes by eye is very
tricky but there is a gauge tool available to 3D print which makes the
job much easier. This can be obtained for 3D printing from
https://www.thingiverse.com/thing:4214451 |

|
|
|
|